
We’re back with more photography tips to help new (and experienced) shooters better understand this fantastic hobby of ours. In the past we’ve covered things like ISO, zone focusing, and cross-processing, and today we’re taking a look at one of the most important aspects of creative photography; depth of field.
If you’re unsure of what we’re talking about when we say depth of field, worry not. You’re not alone. The questions surrounding DOF are among the most common that we encounter, and we’re happy to help.
So with minimal technical nonsense and plenty of sample shots, let’s get to it. By the end of this article you’ll know everything there is to know about DOF. We’ll show you the ways it impacts your photography, how to control it, and why understanding it can help anyone make better photos.
So how important is depth of field? I think that if you’re only going to learn a single technique in manual photography, we think DOF control is the one to learn. An understanding of DOF gives a degree of artistic control far greater than that which is gained through understanding shutter speed or ISO.
Why so crucial? Manipulation of DOF allows the photographer to direct a viewer’s attention to a specific part of an image, isolate subjects, or minimize distracting elements in a frame. It’s massively important for portrait photographers, product photographers, and street shooters, and anyone who wants to make beautiful pictures should know how to influence depth of field.
What is DOF
To put it as simply as possible, depth of field is the term used to refer to the portion of a shot that is in sharp focus. To be more specific, the depth of field of an image is the distance between the farthest and nearest objects that appear acceptably sharp.
Depth of field can be deep or it can be shallow. When we refer to deep depth of field we refer to images that show great spans of distance in sharp focus. This would be typically seen in landscape shots, for example, in which a foreground tree is rendered as sharp as a distant mountain range.
Shallow DOF, as found in portraiture and product photography, is typically used to emphasize a subject in sharp focus while blurring the distracting elements in the background and foreground. This is also how we get super-bokeh-balls!
")

The shot to the left illustrates deep depth of field. Notice that the subjects and background in the entire scene are all captured in equally sharp focus.
To the right we can see an example of shallow depth of field. Notice that the point of focus is on the insect while the foreground and background is heavily out of focus. This shot also illustrates the way that DOF is not an instant drop-off, but rather, a gradual transition. We can see that the sharpness found at the specific point of focus gradually diminishes the farther from the focus point we get.
There’s a whole lot more to DOF than this simple explanation, and if you’d like to learn more about higher concepts such as the “circle of confusion” or see a table of focal-length/DOF calculations, let us know. For now, we’re going to keep things casual.
So how does one control depth of field? It’s pretty simple.
The best and easiest way of controlling DOF is by opening or closing the aperture of your lens. If you’re unfamiliar with the term aperture, again, worry not. For now, a simple explanation will do.
The aperture within your lens is the opening made by a physical diaphragm, which is usually made up of a series of blades. This diaphragm opens and closes to specific diameters, known as f-stops (or f-numbers). The diameter of the opening dictates the behavior of light rays as they enter your lens. These light rays then make contact with the image sensor or film plane in your camera, resulting (in conjunction with your shutter opening) in an exposure.
Higher f-numbers (such as f/16 or f/22) counterintuitively denote a smaller aperture, while lower numbers (f/1.4 or f/2) denote a larger opening. The smaller the aperture the more collimated the light rays become, resulting in nice, sharply focused images. A larger aperture lets light rays enter the lens in a more haphazard, undirected way, resulting in an image in which more areas are out of focus.
We know the whole aperture thing can be a difficult concept, so we’re working on an in-depth article to help explain. For now, just try to remember that your aperture is correlated to your f-number and that larger apertures create shallow DOF while smaller apertures create deep DOF.
The way that one adjusts lens aperture differs from camera to camera, but generally there are two main methods. One method is through the turning of a dedicated aperture ring mounted on the barrel of a lens. This ring will be marked with the lens’ f-stops (or f-numbers) and by spinning it the diaphragm opens or closes.
The other method (most commonly used on DSLRs) is carried out by turning a selector wheel on the front or back of the camera. Turning this wheel typically tells a lever within the lens mount to position itself to a certain location, which will select the desired aperture when the shutter is released.
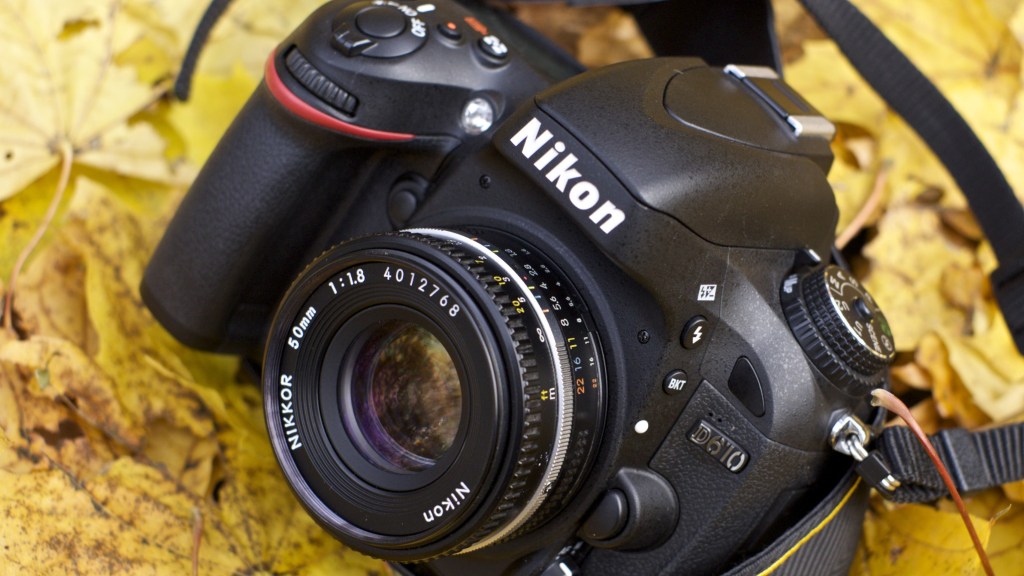
In the above shot, we can see both of the most common adjustment methods; the aperture ring on the lens and the selector wheel on the body of the D610. Using either method works beautifully, which makes adjusting the aperture (and consequently DOF) easy as pie.
Not convinced? Let’s illustrate some practical scenarios.
If you’re looking to isolate the subject of a portrait, it’s best to use a larger aperture. By doing so you’ll be able to focus on a specific point (your subject) while blurring away the non-essential parts of an image (the background). We’ve done this in the shot below. Notice the subject is in sharp focus and the background is blended away. The viewer’s eye is directed exactly where we intend (that gorgeous Golden) without any distractions getting in the way.

To achieve a shot like this, rotate your aperture ring or selector wheel to a larger aperture (lower f-number, such as f/1.4), focus on your subject, and shoot. You’ll find you’ve made a beautifully dreamy image that seems to melt away from the point of focus. This is also how we get those gorgeous bokeh-balls that are just so desirable.
If you’re looking to capture the details of a larger scene in its entirety, like the one shown below, turn the aperture ring or selector wheel to a smaller aperture (higher f-number, such as f/8), focus on your subject, and shoot. You’ll find you’ve made an exceptionally detailed image in which all aspects of the frame are in sharp focus. This is how we get crisp detail in landscapes and city shooting.
Easy, right? Sure is!
But let’s not leave it at that. Here’s a panel of sample shots to really illustrate the affect that changing your aperture has on DOF. In these shots, we have a beautiful Zeiss Ikon Contina as our subject. With just a single adjustment (changing of our aperture) we’re able to radically change the depth of field, resulting in a handful of images that are incredibly different from one another.
We can see that as the aperture gets smaller (f-numbers increase) the depth of field goes from extremely shallow to very deep. At the widest aperture, not even the entire camera is in focus. But as the aperture gets smaller, the DOF gets deeper. Sharpness spreads and details begin to emerge. By the time we’ve reached the smallest aperture the DOF is quite deep, bringing even the distant shores of the Charles River into relative clarity. But aperture adjustment isn’t the only thing that affects DOF. Another way in which DOF is adjustable is by changing your distance-to-subject. The farther away your point of focus the greater your DOF will be. Conversely, being very close to your point of focus will result in shallow depth of field.
In the image below we used a relatively large aperture due to the lack of available light. But even though we were shooting the lens wide open we still achieved massive DOF. This is because the point of focus was quite far away. Had the subject been inches from the lens we’d have made an image with shallow depth of field, and an entirely different composition and tone.
But even though we can adjust DOF via focus distance and distance-to-subject, aperture adjustment is still the ideal method of altering DOF since this method won’t alter the composition of your shot.
When it comes right down to it, there are certain photos that just wouldn’t be possible without a solid comprehension of depth of field. If you’re looking to take dreamy portraits or stunningly sharp landscapes, there’s just no way around it. Knowing how to manipulate the camera and lens to achieve the desired DOF is crucial to the serious photophile.
So we hope this short guide has helped explain away some of the mysteries surrounding it, and that we’ve given you readers some food for thought. If you’re still a bit unsure of what it all means, there’s no better tool for learning than to experiment and see it for yourself. Go out, spin those aperture rings, and get shooting.
If there’s a point on which you’re unclear, or you’d like to add your own experience to the conversation, sound off in the comments. We’d love to hear from you.
Buy books on photography techniques on Amazon, eBay

Follow Casual Photophile on Facebook and Instagram
[Some of the links in this article will direct users to our affiliates at B&H Photo, Amazon, and eBay. By purchasing anything using these links, Casual Photophile may receive a small commission at no additional charge to you. This helps Casual Photophile produce the content we produce. Many thanks for your support.]
Leave a Reply