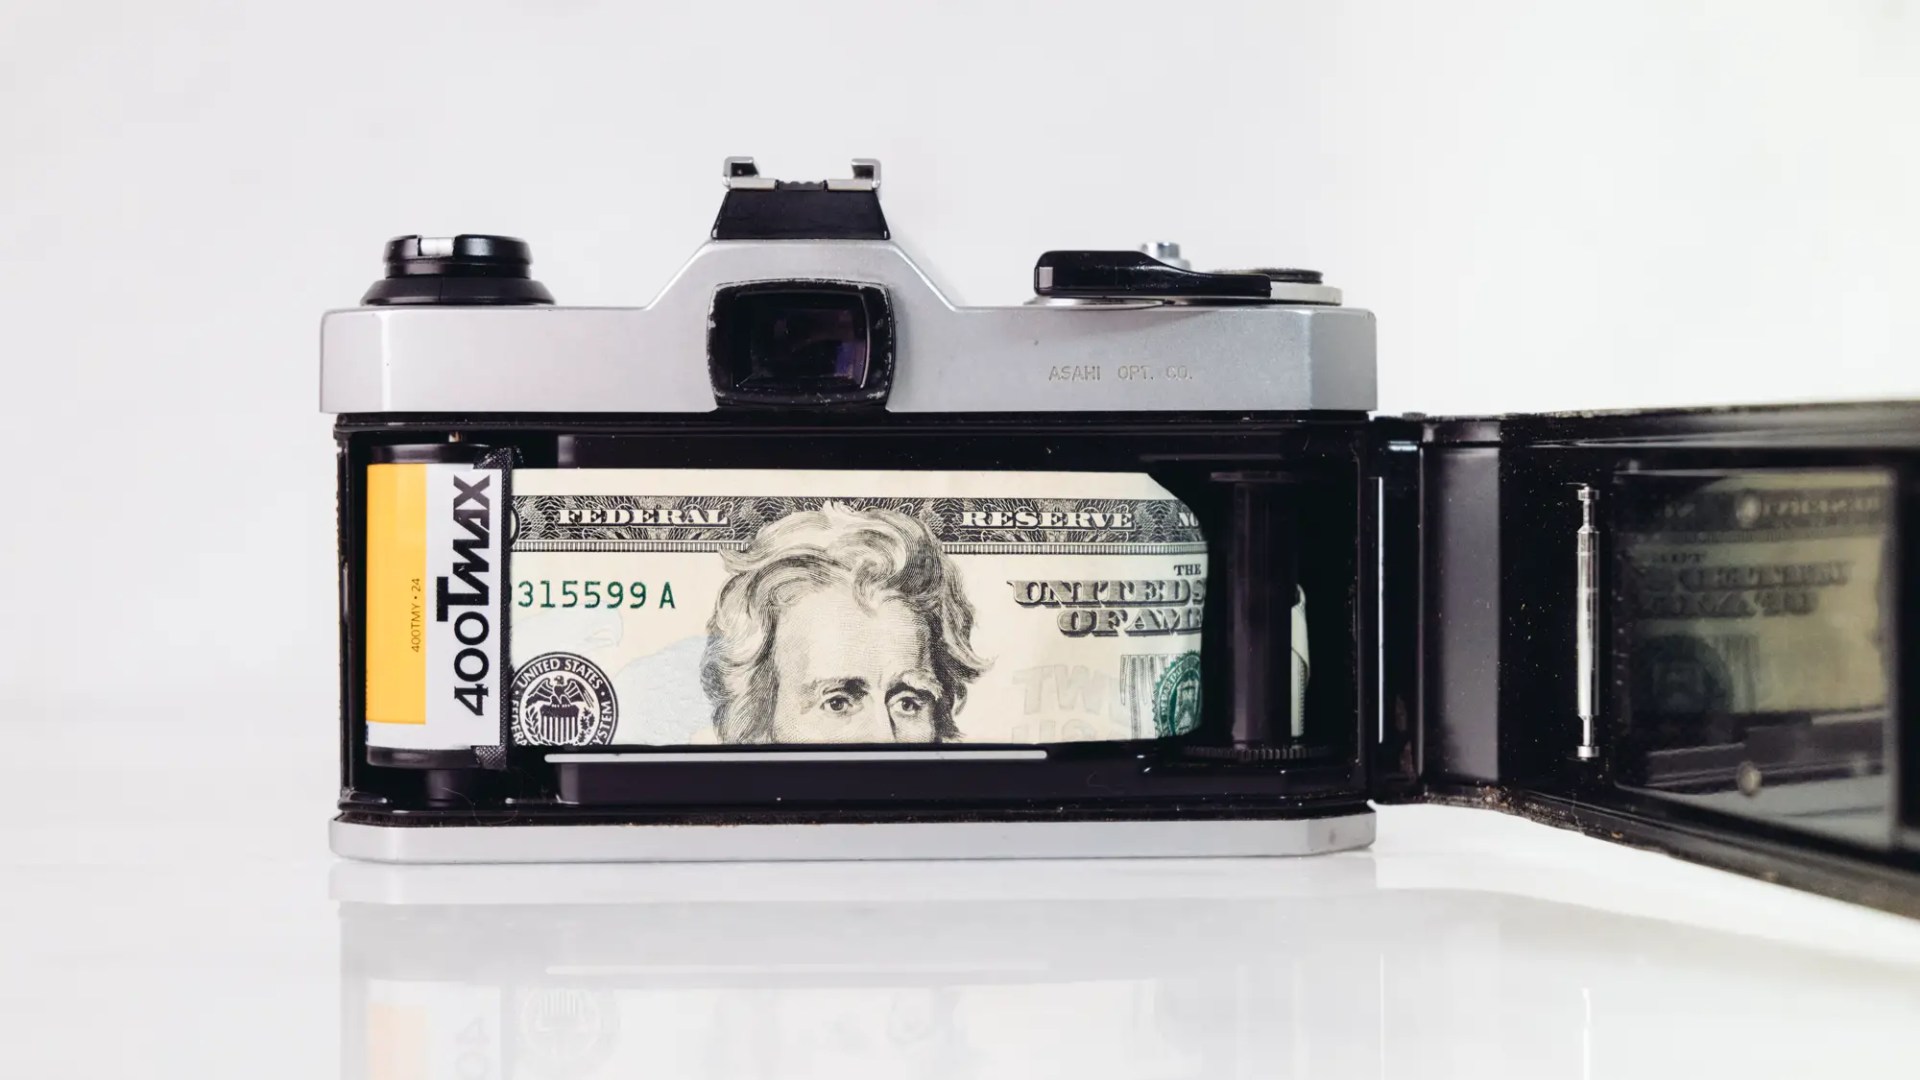
Over the last two years, Ilford and Kodak have increased the prices of their film across the board, in some cases implementing price hikes as high as 20% per roll. As we launch into another new year it seems this trend isn’t ending anytime soon. News just broke that Kodak will once again raise prices in the coming year.
This high cost and sparse availability of film heading into the new year leads me to predict (and it’s not much of a stretch) that 2023 will be the most expensive year ever for film photographers.
In my never-ending quest to add value to your hobby, I’ve sweated the details and come up with five simple and effective ways of lessening the burden of cost for those of us who shoot film. Here they are; some easily-implemented cost-cutting measures to keep the film dream alive in spite of the recent and upcoming price hikes.
1) Bulk Load Your Own Film
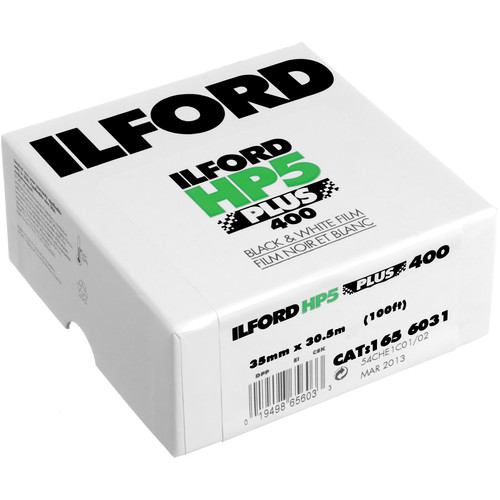
Bulk loading is a “trick” that frugal photographers have been using for decades, but for those who aren’t familiar with the terminology or what it means, here’s a crash course. Instead of buying the usual individual 24 or 36 exposure rolls of 35mm film, we buy one massive 100ft roll of the same film and load it into special reusable film cartridges ourselves. By doing so, we’re able to effectively cut the cost of each roll of film dramatically (in some cases by as much as 45%). Many black and white films are available to buy in 100ft rolls, including the omni-popular Ilford HP5 Plus and Kodak Tri-X, and cheaper alternatives as well.
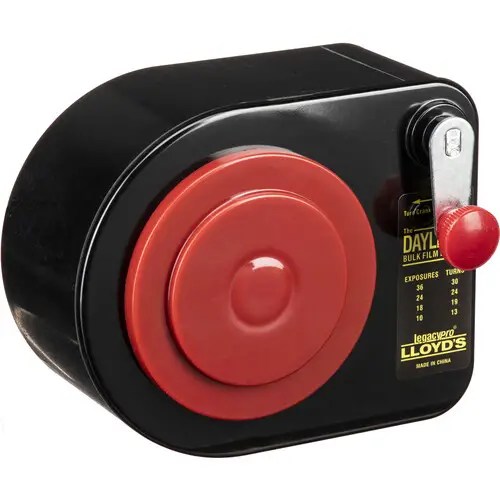
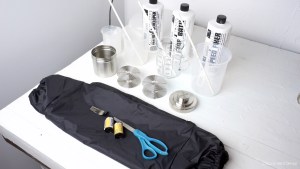
To bulk load your own film you’ll need to buy some special (albeit inexpensive) equipment. Here’s what you’ll need to start bulk loading your film. I’ve used these products myself, and they’re recommended.
- Legacy Pro Lloyd Daylight Bulk Film Loader
- Kalt 35mm Re-Usable Film Cassettes (buy a few of these, and don’t cheap out and try to reuse non-reusable film canisters as they almost certainly will scratch your film)
- Scotch tape
- A daylight changing bag for initially filling the Bulk Loader with your 100ft roll of film (optional, as you can do this in a darkroom, but it must be a truly dark room – that means no light)
- A 100 ft roll of your 35mm film of choice!
The process of bulk loading is easy. I won’t fully tutorialize the process here. There are entire articles and YouTube videos on the process elsewhere. But briefly – you load your bulk roll of film into your Daylight Bulk Film Loader in total darkness. Next, scotch tape the end of the film from the Daylight Loader onto a spool from one of your reusable canisters. Insert the canister into the Bulk Loader, attach the crank, and crank it the appropriate number of times in order to spool the desired length of film into the canister. Remove the canister, snip the film, load it into your camera… profit!
Drawbacks of bulk loading film? Sure, there are a few! We’re sacrificing our time for money. It doesn’t take long to spool some film into a canister, but it does take some small measure of time. You must determine if the trade-off is worth it (maybe prep your film canisters during other time-wasting activities, such as watching YouTube?). Another drawback – the bulk loading cassettes do not feature DX coding, so they should only be used in cameras which have the capability to manually select ISO [If you don’t know what ISO is, here you go!]. Lastly, until you become a master of bulk loading it’s likely that you’ll get a few light leaks or ruined rolls due to user error when loading your film into your canisters. These errors will disappear over time.
2) Be More Mindful While Shooting
Of the five suggestions made in this article, this one may be the most contentious. But it’s valid. To save money shooting film, maybe shoot less film?
What I mean by that is slow down, take your time, think about your photo. When you’ve got the camera raised to your eye and your finger’s hovering delicately over that shutter release button, take a second to look at what you’re seeing in the viewfinder and imagine it as a final print. Is there anything there? Anything within that frame worth burning onto film? Would you take what you’re seeing in that viewfinder and frame and hang it on a wall?
Many of you already do this, I’m sure. But some of you probably don’t (I get it – you’ve got a Nikon F5 and simply can’t resist that 8 FPS burst mode). But this technique of studious, real-time, pre-fire photo critique is how I’ve gotten my hit rate, that’s the number of “worthwhile images” per roll of film, to increase over the past few years from somewhere around three “keepers” per roll to (maybe) twelve or fifteen. By being overly critical of my photography, by questioning my impulse to shoot, and by only shooting when I see an interesting shot in the viewfinder, my photography has improved and (though this was never the intention) I’ve wasted less film and spent a lot less money.
3) Develop and Scan Your Own Film
This is another somewhat obvious solution for those of us who have been shooting film for longer than the last few years, but it has always been cheaper to develop and scan your own film than to send it out and have it developed and scanned by a lab.
There will be film newcomers reading this suggestion who have already said “I can’t do that.” Let me assuage your worries. You can do it. It’s easy. If you can read numbers, use your hands to hold things, and pour liquids, you can do it. You can develop and scan your own film.
I’ve written an article about all of the gear that you’ll need to develop your own film at home, and you can read that article here. I also wrote an article outlining (and made a video tutorial showing) how to develop your own film step by step. Those should get you well on your way to developing your own film.
Scanning is another thing, but it’s equally easy. You’ll simply need a scanner and a computer. If you’re a newcomer buying a dedicated film scanner, buy this one. Don’t read the impossible to fathom suggestions on Reddit and Facebook in response to the countless “What scanner should I buy?” threads that exist on those platforms. They will only confuse you. Just spend the money and buy this scanner. Trust me. I have used them all and this one is the perfect balance of cost, usability, speed, and performance for anyone looking to scan 35mm rolls of film.
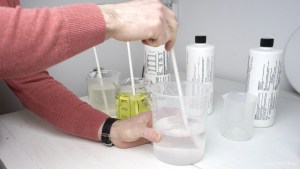
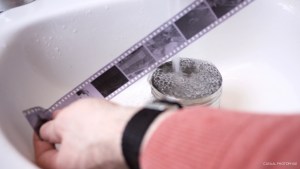
There are obvious drawbacks to developing and scanning at home. You’ll need to buy and store development chemicals. You’ll need to buy the developing equipment and scanner up front, and you won’t realize savings until you’ve developed more than a dozen rolls of film. And finally, you’ll need to trade your time for money. Developing and scanning can take considerable time. Most of us dedicate half a day to the process once we’ve got a handful of rolls ready to go. It’s kind of a pain, illustrated aptly when one of my writers snapped and wrote a full-on rant about scanning. And lastly, if we all developed and scanned our own film, many small businesses (photo labs) would go out of business (which would be sad, because the labs which exist today do amazing work).
But if cost is your primary concern, developing and scanning at home is certainly the most cost-effective way to shoot film.
4) Change Your Camera Part 1 – Shoot a More Modern Camera
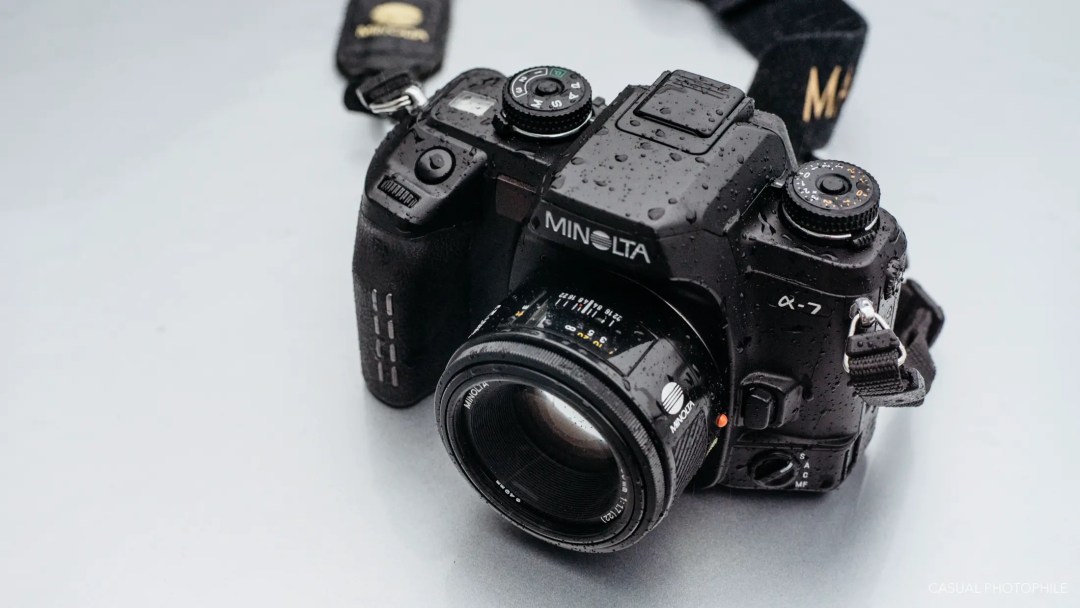
A few years ago, I wrote an article headlined How to Cheat at Film Photography. In that article I outlined some tips and techniques that I’d learned over the years which helped me avoid beginner mistakes and improve the overall quality of my film photography. One of the tips was to use a more modern film camera, and I’m repeating that advice here as a way to mitigate cost.
Old film cameras look great. The Pentax K1000, the Minolta SRT series, even Leica M3s and M2s and M4s – they’re great looking cameras and people love them (and I know this, because the people who love them won’t stop telling us). But for all their old-world charm and classic functionality, these cameras are hard to use and need expert hands. They lack light meters or auto-exposure or auto-focus, or they lack all of that and more. They don’t help the photographer in any way, and in the hands of an amateur or a person who’s not constantly focused on photography (let’s say we’re at the zoo with our kids in tough light on a windy day) the resulting roll of film shot through any of these “legendary” cameras will be full of missed focus, bad exposures, and wasted shots.
Compare these cameras to any basic 35mm SLR camera from the late 1990s or early 2000s and there’s no competition. The $50 Minolta Maxxum 5 or Canon Eos Rebel will make better photos than a Leica M3 in the average users’ hands, and will ask less of the photographer while doing it. The result of making more better photos? We make less bad photos, and we waste less film.
This suggestion is certainly the hardest to prove as a cost-cutting measure, but anecdotally it tracks. Get yourself a nice SLR with auto-everything from the 1990s and save money by not wasting film.
5) Change Your Camera Part 2 – Shoot a Half Frame Camera
This is my favorite solution to the problem of rising film prices. It’s the one that makes the most sense, has the greatest impact on the bottom line, and demands the fewest compromises of the photographer. By shooting a half-frame camera we can effectively double the number of photos that we can make with every roll of film. That means that our dollar is going twice as far. Or, if you want to look at it inversely, it means that every roll of film we buy is half-price!
If you’re new to film cameras, you may not know what half-frame means. Half frame cameras use normal 35mm film, but they squeeze two images onto a single frame. This means you’ll get 72 exposures on a normal 36 exposure roll of film. Many companies made half-frame cameras over the decades, and in all sorts of form factors. The Yashica Samurai is a ridiculous camcorder-like machine that will be enjoyed by people who wear fanny packs in 2021 and beyond. The Canon Multi-Tele is a point and shoot in the traditional style with a versatile and switchable half-frame/full-frame functionality. The Agat 18K will be perfect for those who like things that are plastic, and from Belarus.
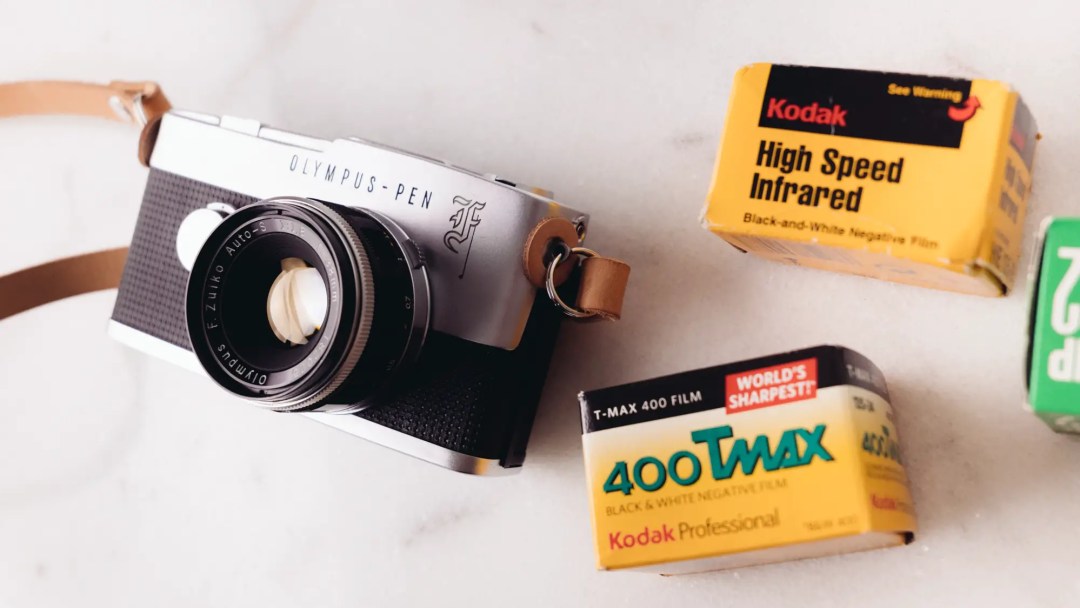
And then there’s the greatest 35mm half-frame camera of all time. The half-frame camera that feels as solid as a Leica. The half-frame camera that works as beautifully as a mechanical watch and is as compact as a point and shoot. It’s the Olympus Pen F.
I will hold myself back here. I won’t write ten more paragraphs on why the Olympus Pen F (or Pen FT) is one of the finest cameras I’ve ever held. I won’t tell you about how well-made it is, about the series of impossibly small lenses that mount to it, about the ingenious sideways mirror assembly and the even more genius rotating titanium foil shutter curtain, and I won’t mention the feeling of weightiness that I get when holding it (not from its actual weight, which is perfect, but from knowing that it was designed by one of the most important and influential camera designers in history). I won’t tell you any of that. Instead, I’ll tell you to click this link and read Josh’s (much more than a) review, and then head to eBay and buy your own Pen. You’ll love the camera, you’ll love the photos it makes, and you’ll spend half as much film.
That’s all I’ve got. If you have any further advice for our readers on how to save money on film in these tough times, share them with us in the comments below.
Follow Casual Photophile on Facebook and Instagram
[Some of the links in this article will direct users to our affiliates at B&H Photo, Amazon, and eBay. By purchasing anything using these links, Casual Photophile may receive a small commission at no additional charge to you. This helps Casual Photophile produce the content we produce. Many thanks for your support.]


Always great advice!