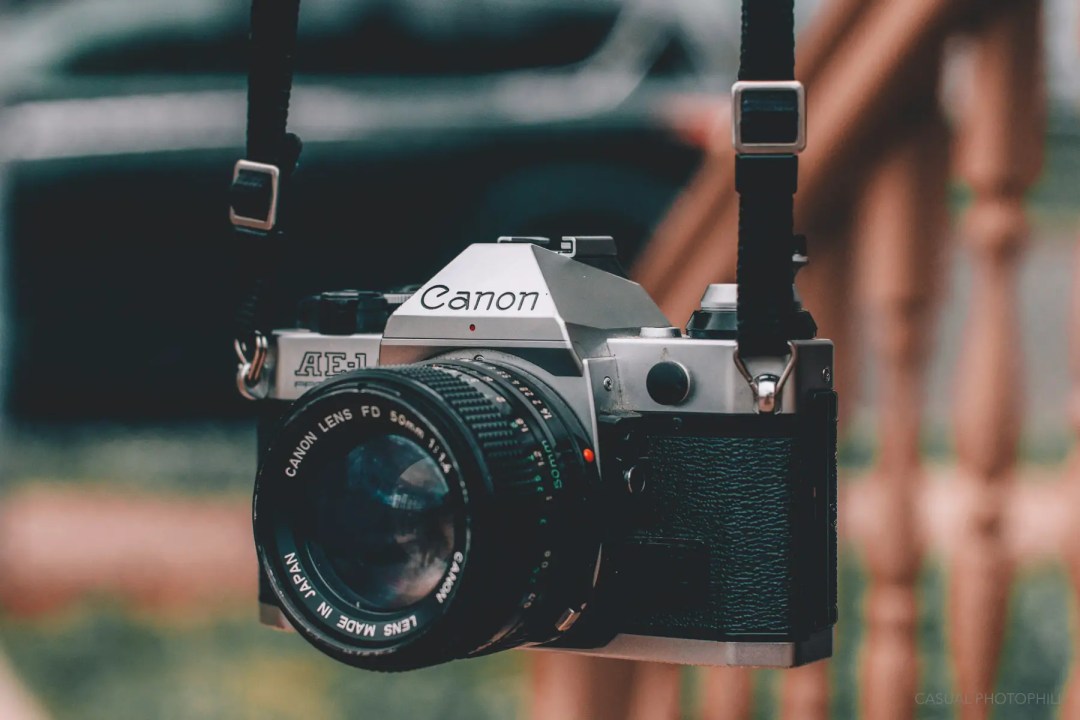
At first, I had trouble falling in love with film. I’m still learning, of course, but these days I’m at least comfortable calling myself an experienced film photographer. I have the Canon AE-1 Program to thank for that.
I’m often asked questions by those who are ready and willing to jump into photography. A recommendation around which camera to buy or what lens works best for portraits of their dog, the list goes on. My mind starts racing because I feel obligated to think of an answer that would help them best. Nine times out of ten, these questions are about digital photography.
The funny thing is that I rarely carry around digital cameras for personal photography anymore. I constantly have the Canon AE-1 Program strapped around my neck at family functions, gatherings with friends, or any event that I want to remember. I also use it for any personal portrait or landscape projects that I may conjure in my head.
The camera, or as I like to call it, “ol’ reliable,” was given to me by a relative knowledgeable of my love for the craft, who had found it sitting in her parents’ attic after years of disuse. They keep all of their items clean, so, the camera was in mint condition. Being my first film camera, it holds quite some sentimental value, but it also allows me to say this camera is great for those ready to start with film. It has taught me everything I currently know about analog photography and has truly shown me the meaning of slowing down when framing a shot.
Now when I’m asked about the best beginner camera by those willing to dabble in film photography, I immediately recommend the Canon AE-1 Program. I’ve been shooting it for over two years, and while it’s not a perfect camera, it is the best beginner-level 35mm SLR.
The Camera as Teacher
The Canon AE-1 Program is a 1981 revision of the original AE-1. To this older camera, the AE-1 Program adds a full automatic Program mode, an electronic light meter readout in the viewfinder, and a few smaller changes which have been explored in-depth in a previous article wherein James compared the two cameras at length. It’s by all measures an excellent camera for any level of shooter, yes, but it’s greatest strength may be in its ability to teach first-time users about the three basic settings that determine the exposure of any photograph: ISO, shutter speed, and aperture.
ISO number refers to the sensitivity of a film or image sensor (James wrote about this in depth in another article). Briefly, the higher the ISO number, the more sensitive a film or sensor is to light. With digital cameras, it’s possible to adjust the sensitivity of the sensor at will. Since the AE-1 Program is a film camera, the ISO value comes from the film stock. For example, Kodak Ektar 100 is a 100 ISO speed film whereas Cinestill 800 Tungsten is an 800 ISO speed film. Simple.
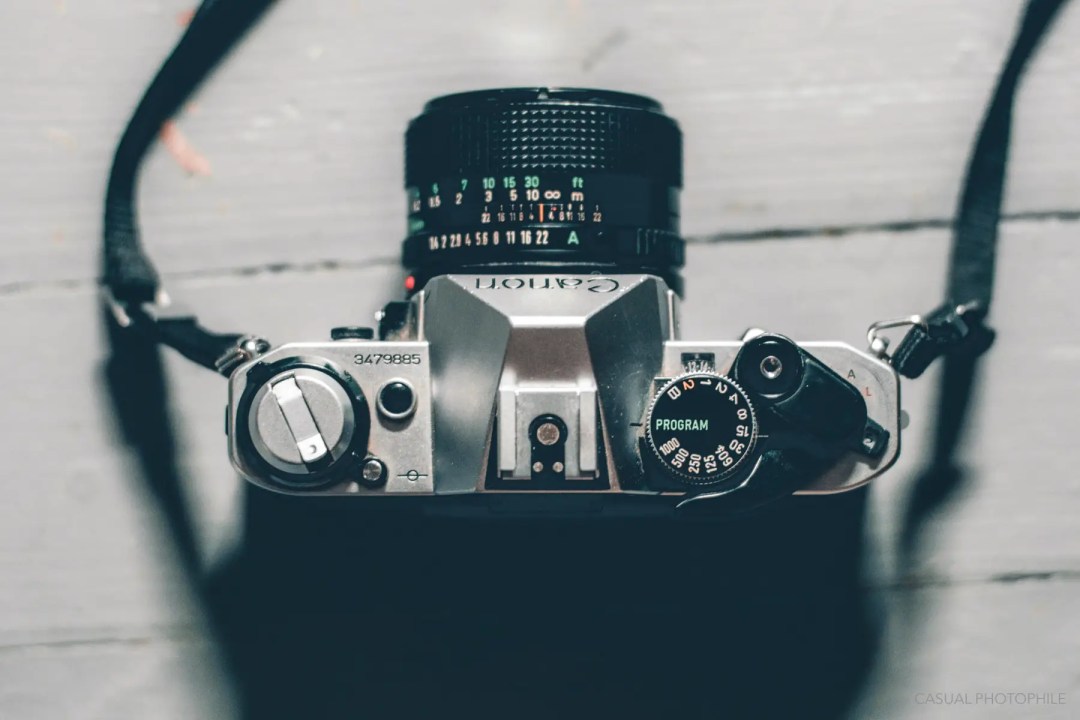
The ISO dial on the top left of the Canon’s body is used to calibrate the camera’s light meter to match the ISO of the loaded film. It can also be set slightly higher or lower than the film’s “box speed” – this is called over- or under-exposing film. Over- or under-exposed film can then be developed differently from film shot at box speed to achieve different final image styles as desired by the photographer. This more advanced process is known as “push” or “pull processing,” and it allows us to shoot certain film in special circumstances where it might not be best-suited, such as low light environments. The ISO dial of the AE-1 Program can be positioned from 25 to 3200 ISO, a range that will cover the needs of nearly any film and photographer.
Our second factor, aperture, is the amount of light that enters the lens to expose the film (or sensor on a digital). By changing the lens aperture (f stop numbers) we can determine how much light hits the film, and how much depth-of-field an image will show (James wrote about this as well, which can be seen here). Canon FD lenses include an “A” mode for use on camera bodies which can control lens aperture – the AE-1 Program is just such a camera.
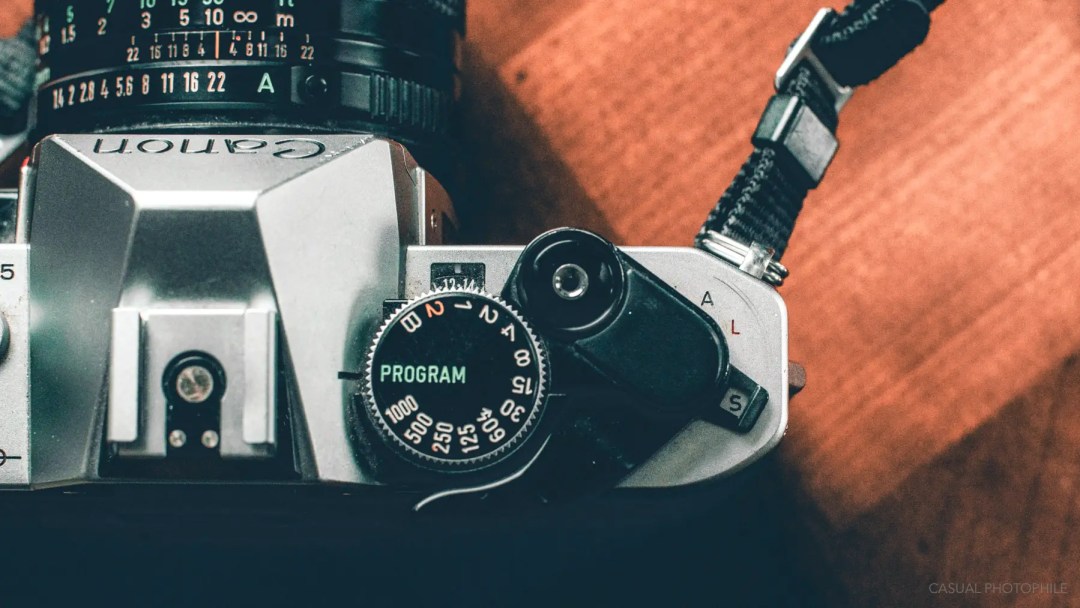
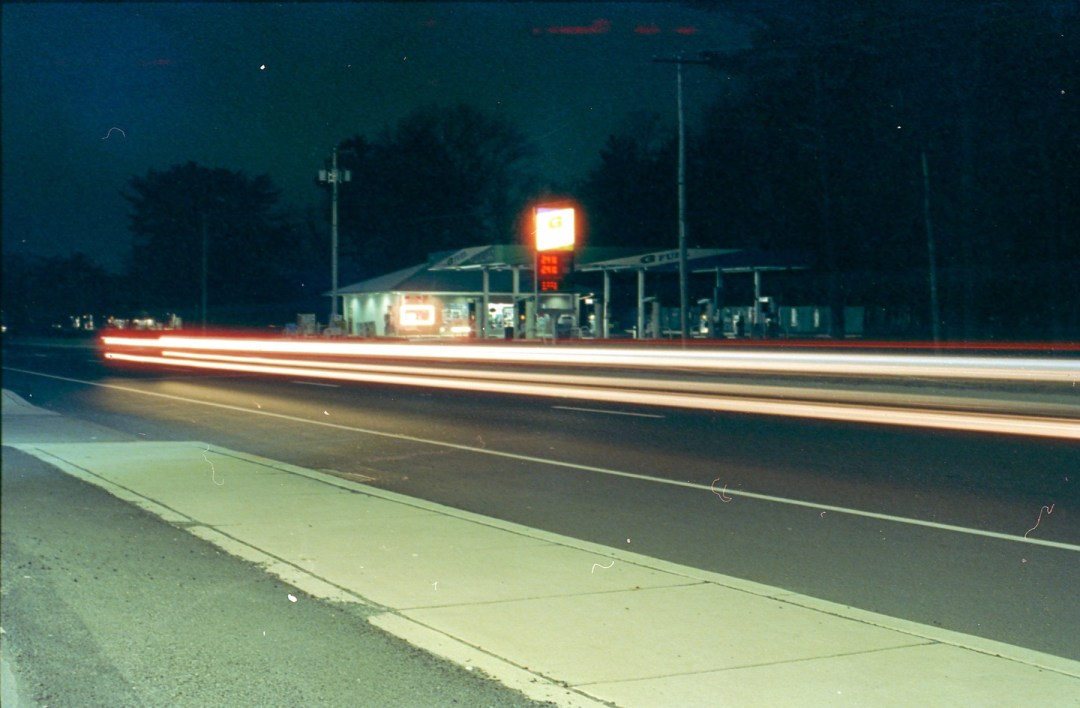
Lastly, the camera’s shutter speed determines the length of time that light will expose the film. The AE-1 Program’s shutter is capable of speeds from 1/1000th of a second to two seconds, and is controlled by a dial on the top right of the body. On this same dial is a setting for Bulb mode, for long exposures, in which the shutter stays open as long as the shutter release button is held down. Shots using this mode only turn out usable or even pleasing to the eye if a shutter release cable is used with the camera on a tripod.
On the same dial is a setting labeled “PROGRAM,” and this is the feature that sets the AE-1 Program apart from its sibling model in the Canon A-series, the AE-1. While the original AE-1 offers only shutter-priority semi-auto mode and full manual mode, the AE-1 Program adds “PROGRAM” mode as well. This is basically “automatic” mode. Set the lens aperture to “A” and the shutter speed dial to Program and the camera automatically chooses the best aperture and shutter speed based on the current lighting situation as read by its light meter. When this mode is in use, a “P” flashes in the viewfinder. Otherwise, an “M” for manual flashes.
The inclusion of this Program mode is one of the things that makes the AE-1 Program so perfect for beginners. It was extremely intuitive when I first started, making the transition from digital to film stressless. If I was ever unsure of my shot, I could count on Program mode to help.
The AE-1 Program in Use
What we have with the Canon AE-1 Program is a straightforward electronic camera that can shoot in fully automatic Program mode, and semi-automatic Shutter-Priority mode (set the lens to A and choose your shutter speed – the camera will select the correct aperture). This is perfect for those just starting. It will effectively let the new photographer see exactly how ISO, shutter speed, and aperture work together to make a properly exposed photo. It’s also got full manual mode. And for me, this was the hard part – doing it myself.
Using the camera in manual mode helps us become a better photographer, but, it’s a rocky road. Learning to properly expose an image on an entirely manual camera is intimidating, especially when you can’t see your image directly after the shutter release. And, I’ll admit, I did not know this camera had a light meter for my first two rolls. I received back some disappointingly underexposed shots during my beginning stages with film photography. Mistakes happen. It’s important to learn and move on.
And that’s what I did – I was forced to learn how to use “ol’ reliable” in order to “reliably” make decent photos. Once I did research on the three factors of a photo, mentioned above, I came to find that the light meter on this old Canon is actually quite accurate. I used a cheap Fuji stock to test it out and discovered that the meter focuses on properly exposing the brightest point in your image unless selectively metered a different way. With a tripod, I tested its accuracy with bright windows from dark rooms, sunlight in shaded areas, and lonely lamps in dimly lit rooms. Most of the time, just based on the meter, the image came out with the brightest parts properly exposed unless manipulated otherwise. For example, in my window test, what is seen through the window is visible and properly exposed, whereas what is in the room is underexposed.
The light meter operates by taking the information of the film’s speed, determined from the ISO dial, and the desired shutter speed of the photographer, and calculates what aperture would properly expose the current lighting situation. When the shutter is pressed halfway, very small LEDs are projected into the viewfinder to explain to the user what aperture the manual lens should be adjusted to. If a situation is too dark, the LED projects a flashing “1,” whereas if the situation is too bright, a flashing “32” is projected.
So, the camera is exceptional at understanding whether or not the current loaded film stock can handle the current situation at the desired shutter speed. As a beginner, this is a quality feature that definitely taught me which settings work well together to make a properly exposed photo. Now after dozens of film rolls, I can (almost) confidently shoot without using a light meter.
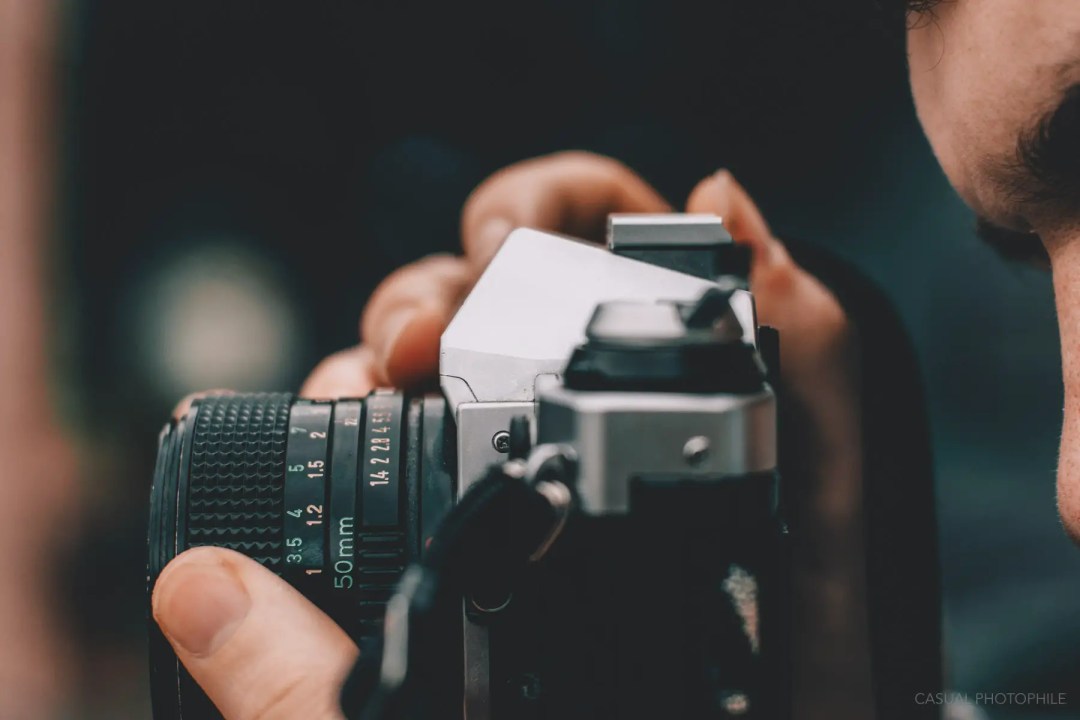
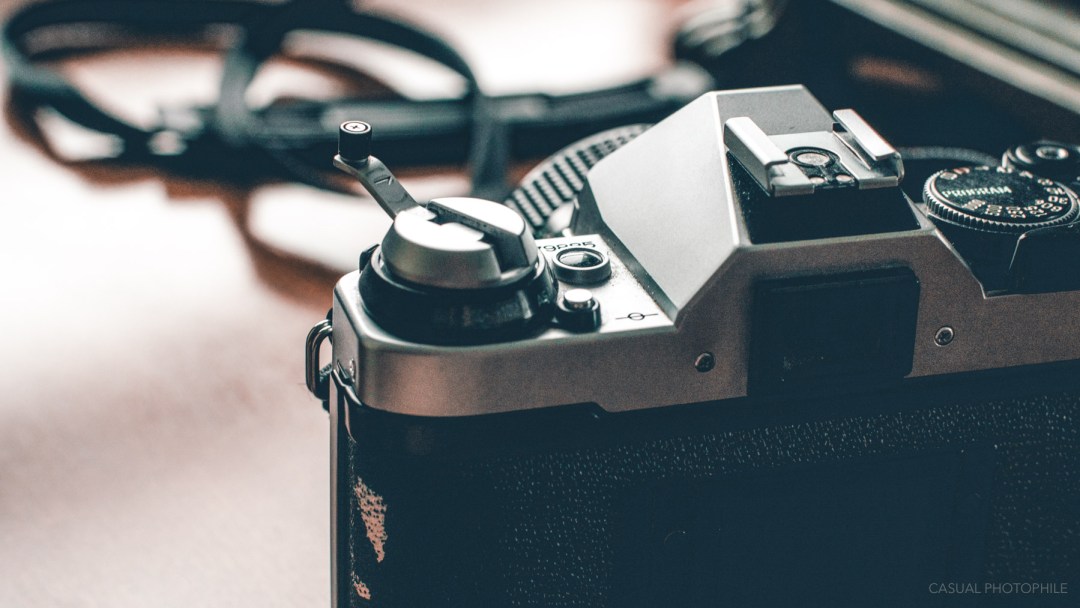
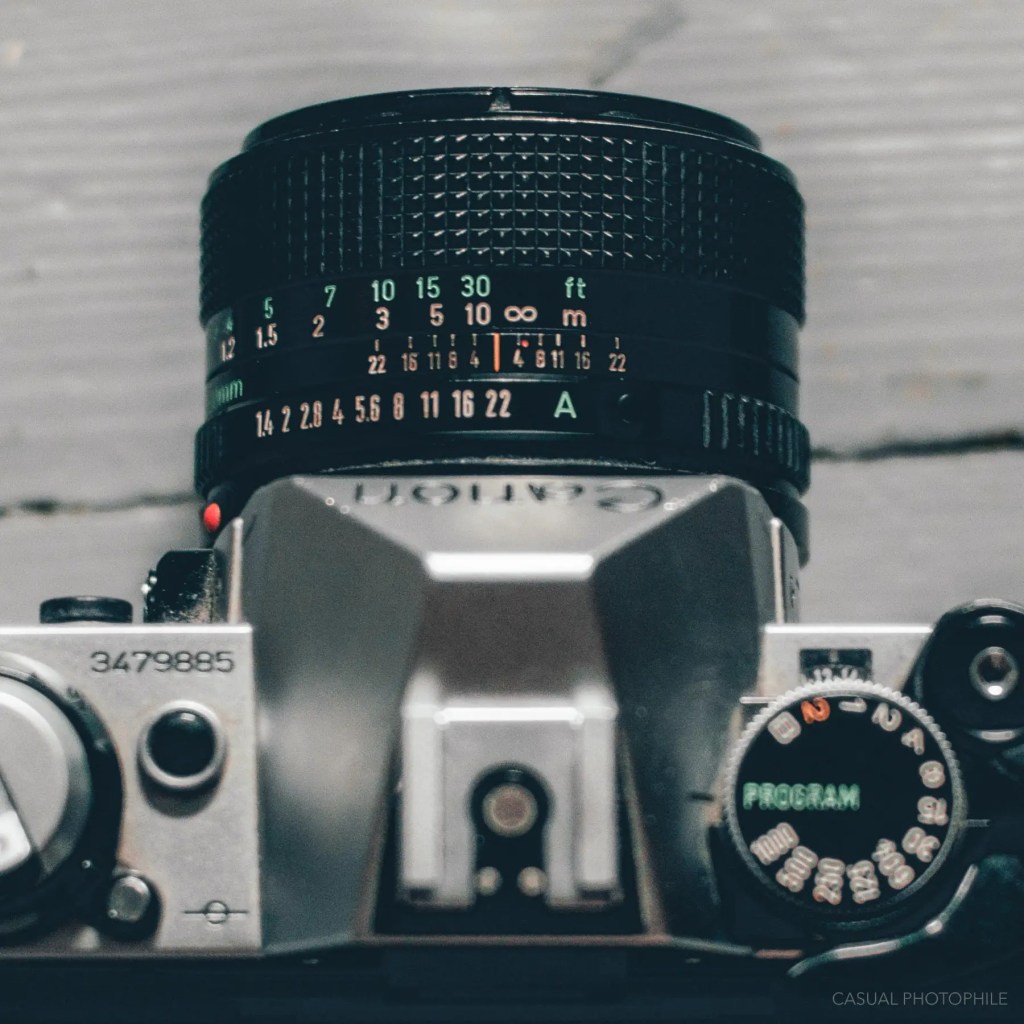
These three major controls are fundamental to making a good photo. Additionally, they’re just about the only controls the Canon AE-1 Program offers. It’s an advanced camera, but at the same time it’s pretty basic. That said, there are a few creature comforts.
A switch near the shutter release can point to one of three settings: “A,” “L,” and “S.” “A” is a mode that fires the shutter once the button is pressed. “L,” which stands for “Locked” is useful when you put the camera away for travel. The shutter does not fire when set to this mode and it has prevented me multiple times from wasting a frame. And the final mode, “S,” stands for “Self-Timer.” This mode, when the shutter button is pressed, activates a ten-second timer with a beep at each second. The self-timer feature is fantastic for self-portraits, group shots, or long-exposures when you do not want your shaky hands to affect the beginning of the image.
There’s a button on the side of the lens mount for exposure lock, and a sliding lever near the bottom previews depth-of-field. There’s a hot shoe on top for mounting dedicated flash units. There’s a tripod socket on the bottom. The film door opens by pulling up the film rewind knob. Focusing screens are interchangeable by the end user, though most people will be perfectly fine with the normal screen installed. It works great and manual focus (the only mode offered) is a breeze. There is a convenient back “pocket” where we can store a piece of paper to indicate which type of film is currently loaded. This also helps to remind us of the film’s ISO.
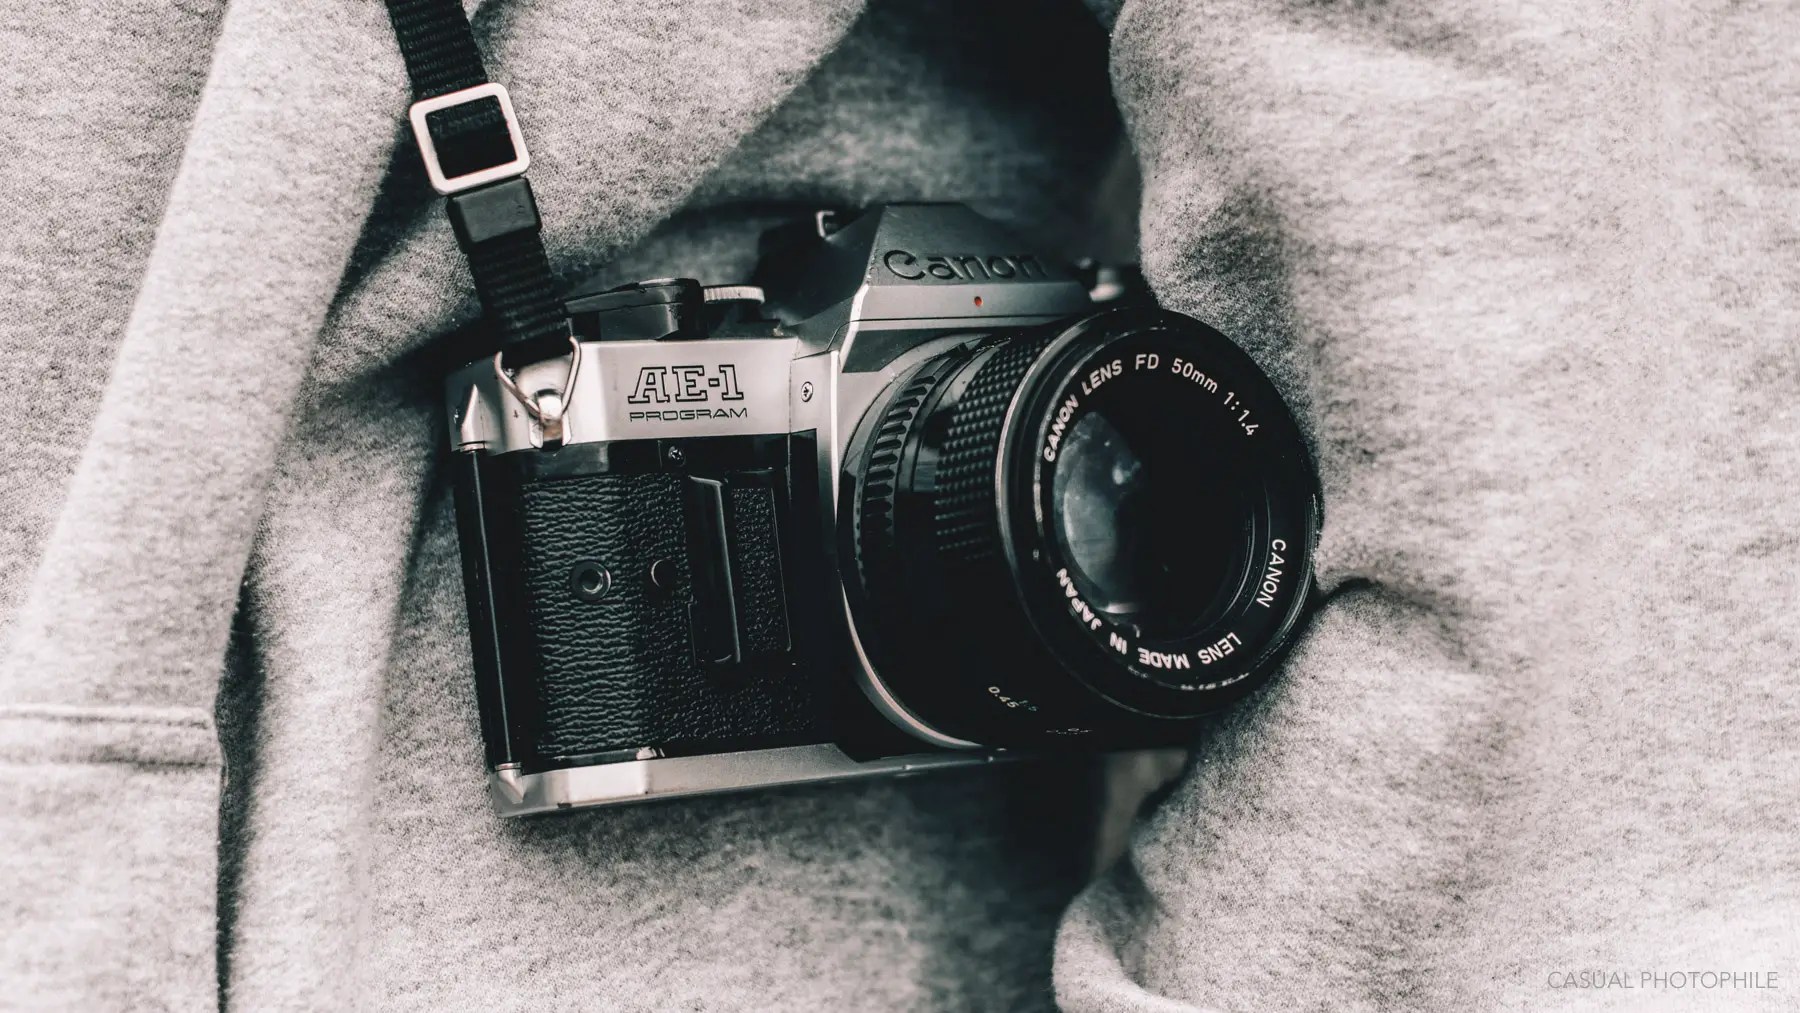
The AE-1 Program is easy to travel with. It’s small and lightweight for an SLR, and it feels nice in the hand with a comfortable detachable “action grip.” It’s also gorgeous. My model has a sleek silver body accented with black leatherette and controls. There’s also an all black version. The camera’s pentaprism proudly displays “Canon” engraved in a surprisingly satisfying font. If this camera were broken, I would use it as decoration.
Lenses
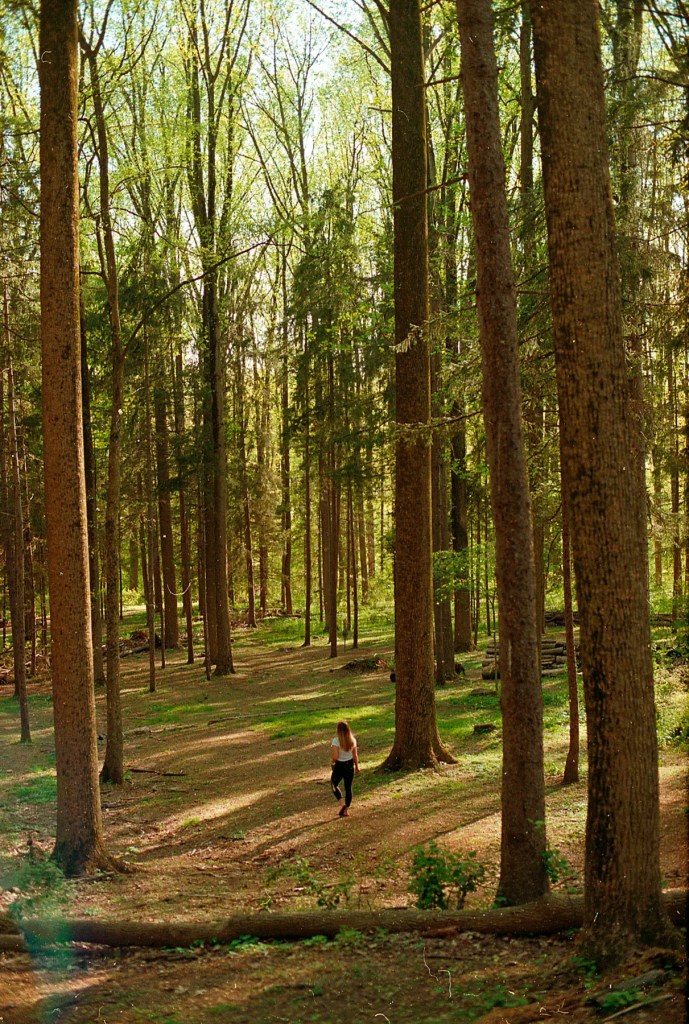
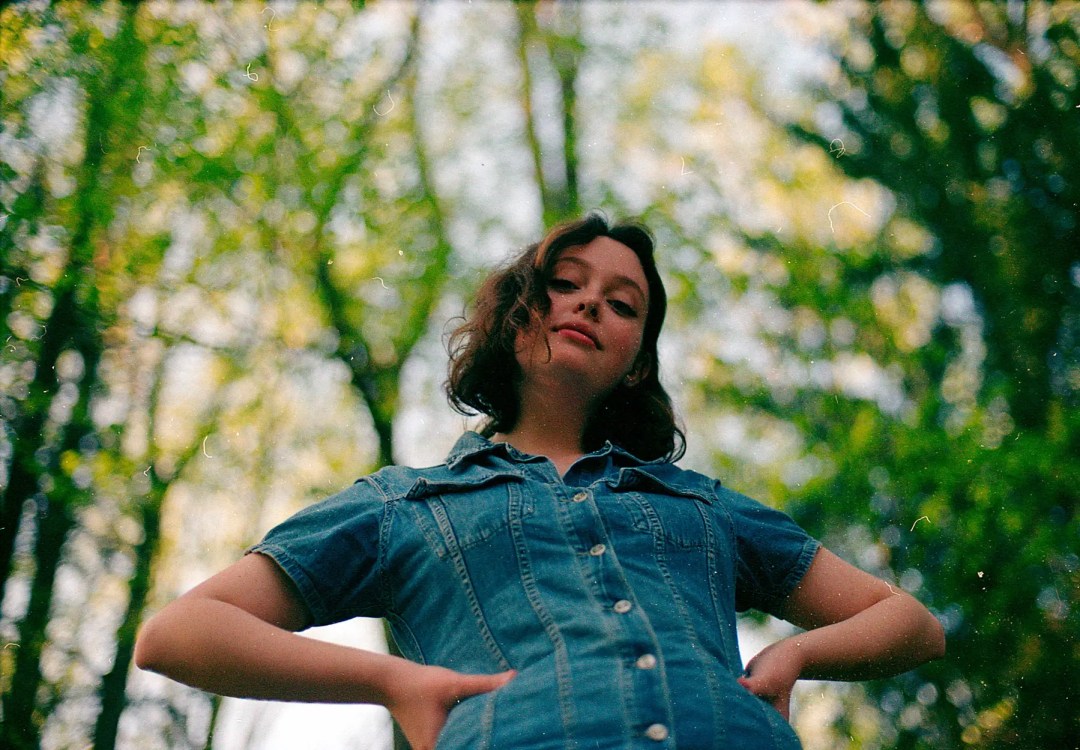
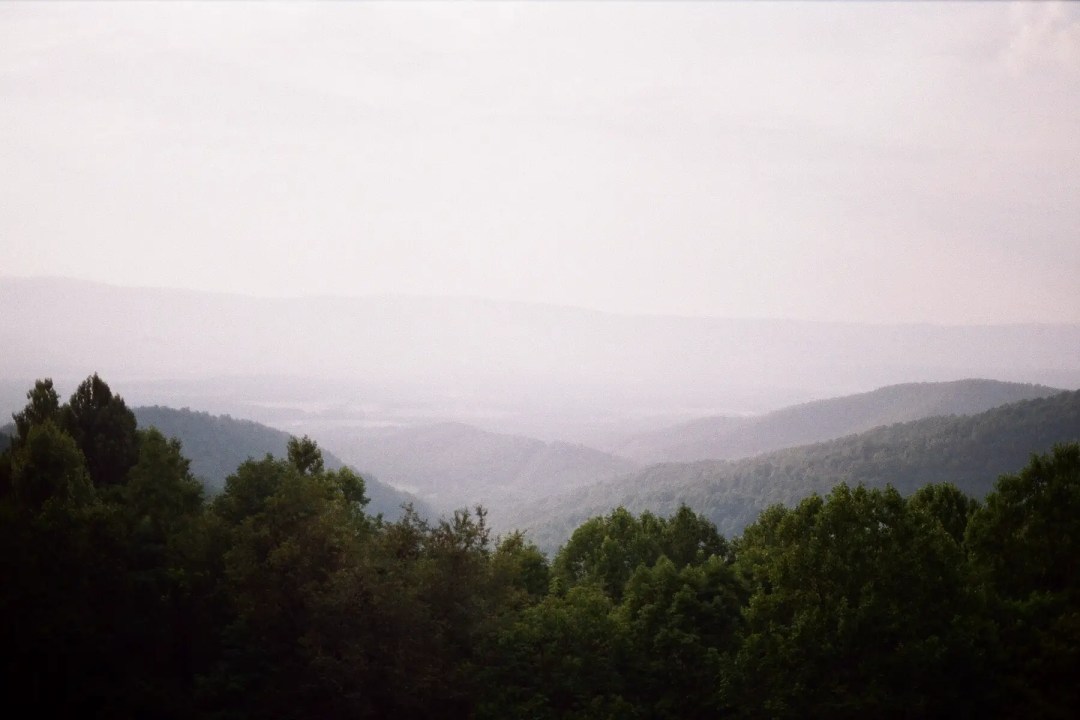
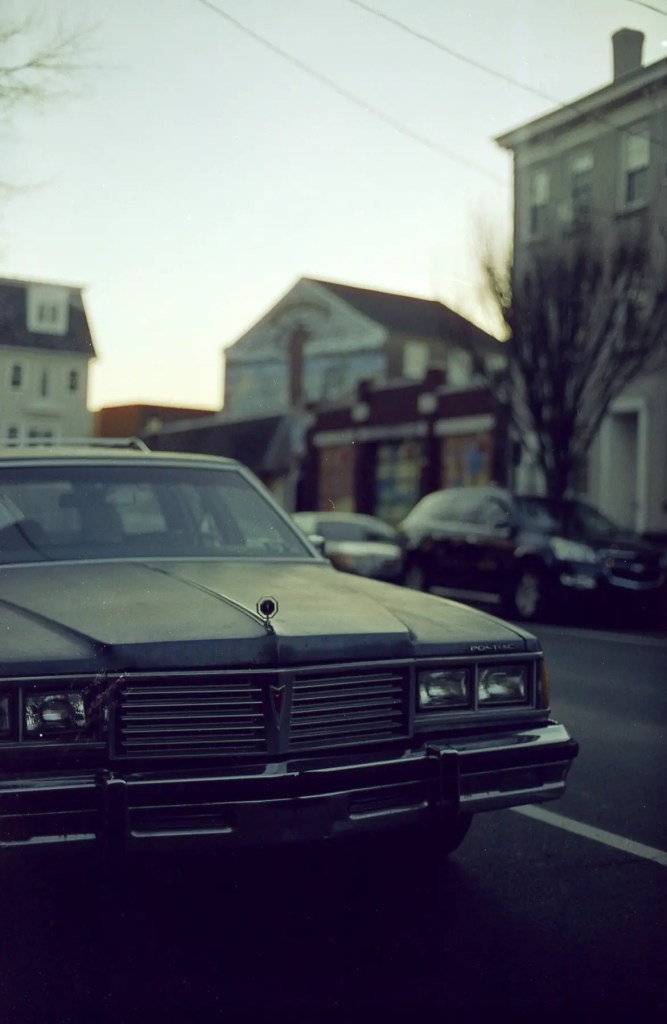
The camera uses Canon’s FD mount, and Canon’s FD mount lenses rival any optics made for consumer or prosumer shooters of its era. Most of the time, I have my Canon FD 50mm f/1.4 attached, and it is one trustworthy piece of glass. I’ve taken some photos I’m extremely proud of with this lens. The fast maximum aperture allows for extremely creamy bokeh and the lens often gives me sharper images than I would expect out of a 35mm negative.
Like many 50mm lenses, this lens’ strength is found when shooting mid-distance subjects, whether these be people or objects. The subject isolation at fast apertures combines with the sharpness of the focus plane to really make images that pop. I’ve taken some of my favorite shots on trips with this lens.
In addition to first-party Canon lenses, the FD mount received decades of love from third party lens makers. This means that there’s not only a fine Canon lens for every focal length and situation, but often there are a number of far less expensive lenses to fit every budget. These lenses may not be as glamorous as fast glass or Canon brand lenses, but they do the job.
When I use my Albinar 80-200mm f/3.9 macro zoom lens, I find the quality of the image always comes out adequate and to my liking. I’ve mainly only used this lens when I need to see something so far away or just want some compression. For example, before a stay-at-home order was put into effect, I used it to take portraits of some friends from their porch at the beginning of the COVID-19 pandemic. I was surprised with the same quality images I would normally get with my 50mm lens’ portraits, especially being so physically far.
Final Thoughts
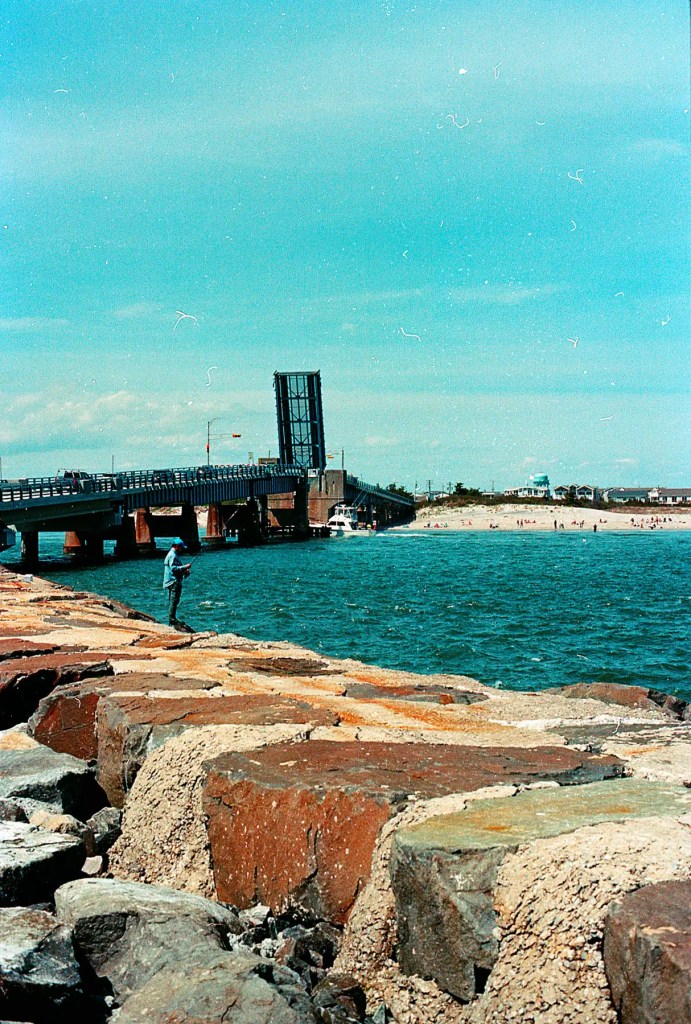
In essence, the Canon AE-1 Program is a beautiful camera that’s responsible for my love of film photography. Of course, it has flaws, but every piece of equipment has flaws if we look hard enough. I’m happy with the work I’ve created with this camera. It truly was a great entry point into the world of analog photography.
It should be noted, however, that while this camera will work wonders for any and all photographers, experienced pros with discerning needs and wants may find themselves a bit limited. I used it to start and so can anyone else, but it won’t satisfy photographers looking for ultimate durability, aperture-priority mode, a non-reliance on battery power, or those who need high burst rates, autofocus, spot-metering, or other special features. It’s just not made for that.
But for a beginner? Go for it! Someone who just wants to capture memories the old fashioned way? This is the camera for you. And that’s because it’s a great camera. But after two years of using one, I plan on upgrading to a more powerful 35mm SLR. Until then, and likely long after, the Canon AE-1 Program will always have a place in my heart.
Get your Canon AE-1 Program from eBay
Get your Canon AE-1 Program from our camera shop, F Stop Cameras
Follow Casual Photophile on Facebook and Instagram
[Some of the links in this article will direct users to our affiliates at B&H Photo, Amazon, and eBay. By purchasing anything using these links, Casual Photophile may receive a small commission at no additional charge to you. This helps Casual Photophile produce the content we produce. Many thanks for your support.]


Good one.